| Component | Role |
|---|---|
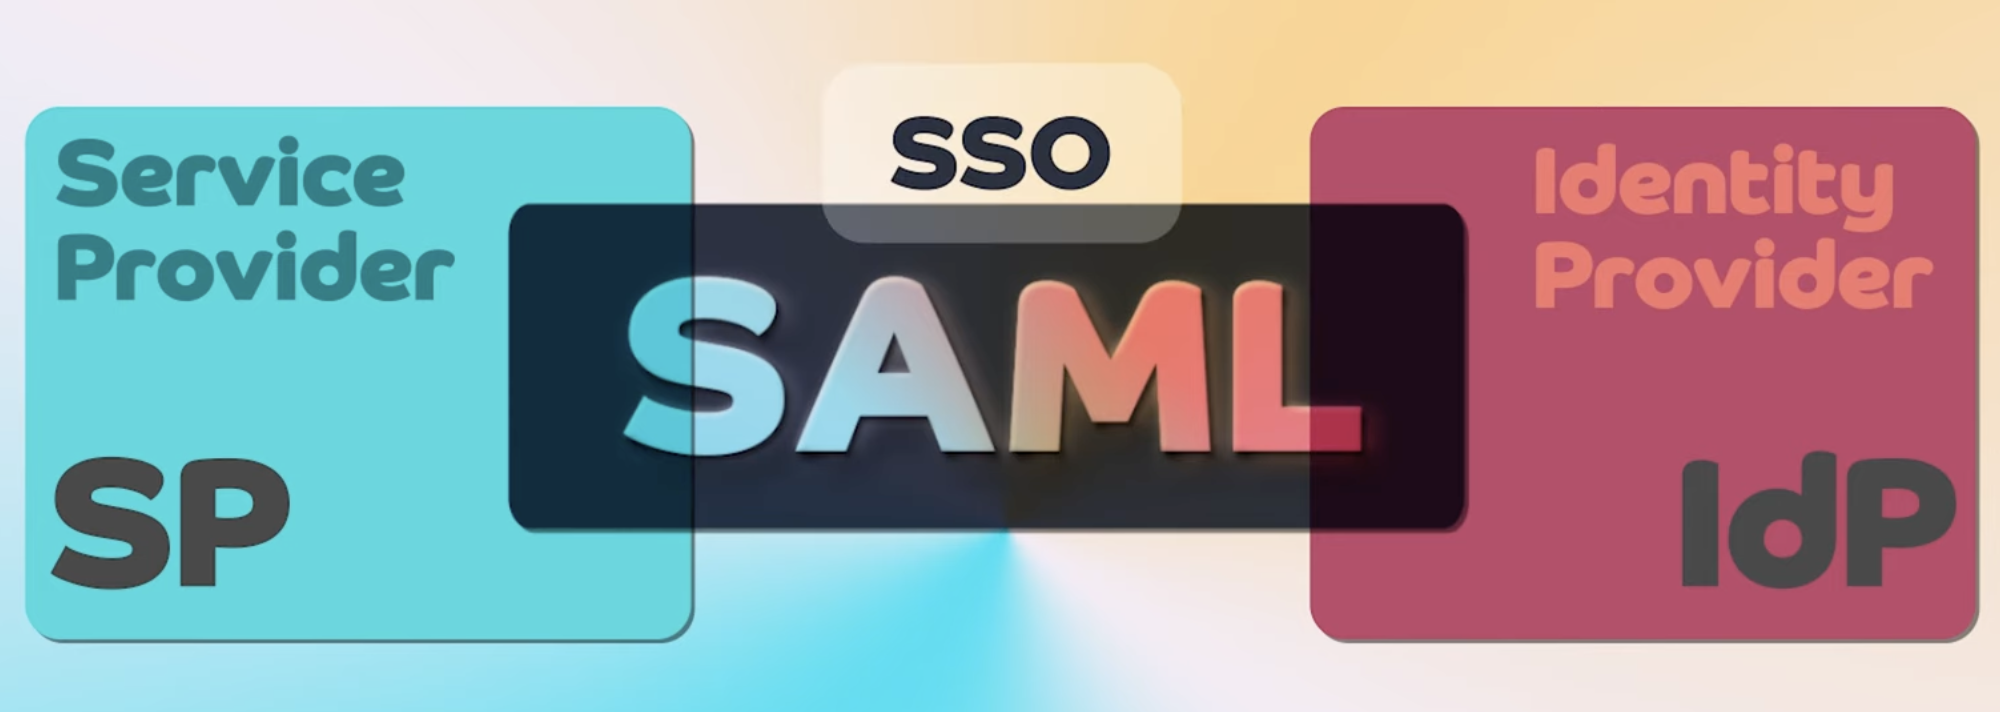
| PowerSchool | Service Provider (SP) |
| Azure AD (Entra ID) | Identity Provider (IdP) |
| User | Browser-based authentication |
- PowerSchool can only be setup to point to one and only one SAML identity provider.
- PowerSchool SIS currently supports only one IdP at a time
- SAML/WS-Trust
- OIDC/OpenID Connect
user IDattribute is used in the SAML authentication arepsguidaka ‘PowerSchool’s own global unique identifiers’state-idaka ‘State identifiers’
PowerSchool will expect an authenticationId attribute from the identity provider during a successful single sign-on
| User Type | Attribute | Value | Source |
|---|---|---|---|
| admin | authenticationId | psguid U | SERS.PSGUID |
| admin | authenticationId | state-id | USERS.SIF_STATEPRID |
| guardian | authenticationId | psguid | GUARDIAN.PSGUID |
| guardian | authenticationId | state-id | GUARDIAN.STATE_GUARDIANNUMBER |
| student | authenticationId | psguid | STUDENTS.PSGUID |
| student | authenticationId | state-id | STUDENTS.STATE_STUDENTNUMBER |
| teacher | authenticationId | psguid | USERS.PSGUID |
| teacher | authenticationId | state-id | USERS.SIF_STATEPRID |
Step 1: PowerSchool SSO Plugin
plugin.xml
<?xml version="1.0" encoding="UTF-8"?>
<plugin xmlns="http://plugin.powerschool.pearson.com"
    xmlns:xsi="http://www.w3.org/2001/XMLSchema-instance"
    xsi:schemaLocation="http://plugin.powerschool.pearson.com plugin.xsd"
    name="Azure SSO - SAML IdP" version="1.0.2" description="Azure SSO - SAML as IdP Plugin">
    <saml
        name="mantle-test-powerschool"
        idp-name="azure-identity-provider"
        idp-entity-id="https://sts.windows.net/<tenant_id>"
        idp-metadata-url="https://login.microsoftonline.com/<tenant_id>/federationmetadata/2007-06/federationmetadata.xml?appid=<app_id>">
        <attributes>
            <user type="teacher">
                <attribute name="authenticationId" attribute-value="state-id" />
                <!-- <attribute name="authenticationId" attribute-value="psguid" /> -->
            </user>
            <user type="admin">
                <attribute name="authenticationId" attribute-value="state-id" />
                <!-- <attribute name="authenticationId" attribute-value="psguid" /> -->
            </user>
            <user type="student">
                <attribute name="authenticationId" attribute-value="state-id" />
                <!-- <attribute name="authenticationId" attribute-value="psguid" /> -->
            </user>
            <user type="guardian">
                <attribute name="authenticationId" attribute-value="state-id" />
                <!-- <attribute name="authenticationId" attribute-value="psguid" /> -->
            </user>
        </attributes>
    </saml>
    <publisher name="PrincePARK">
        <contact email="prince_ppy@yahoo.com"></contact>
    </publisher>
</plugin>
saml Attributes
| Property | Description | Can Modify |
|---|---|---|
| name | The name of the service provider. Must provide a short name that will become part of the addresses used during SAML communication. | No |
| idp-name | The name of the identity provider. | Yes |
| idp-entity-id | The entity ID of the identity provider. Defined in the form of a URI. | Yes |
| idp-metadata-url | The URL from which the PowerSchool can obtain a copy of the identity provider metadata. . | Yes |
The identity provider must also be configured to return an authenticationId attribute on a successful single-sign on. This attribute must contain the either or identifier (as defined in the plugin).
From https://sts.windows.net/<tenant_id> and https://login.microsoftonline.com/<tenant_id>/federationmetadata/2007-06/federationmetadata.xml?appid=<app_id>">, <tenant_id> and <app_id> wil be replaced by the respective value
Step 2: Plugin Installation
- Install the
Azure SSO - SAML IdPPlugin to PowerSchool - Enable the plugin
- Restart the PowerSchool Instance
Step 3: Plugin Configuration
Open PowerSchool Plugin Page > ‘SAML Service Provider Setup’ Page
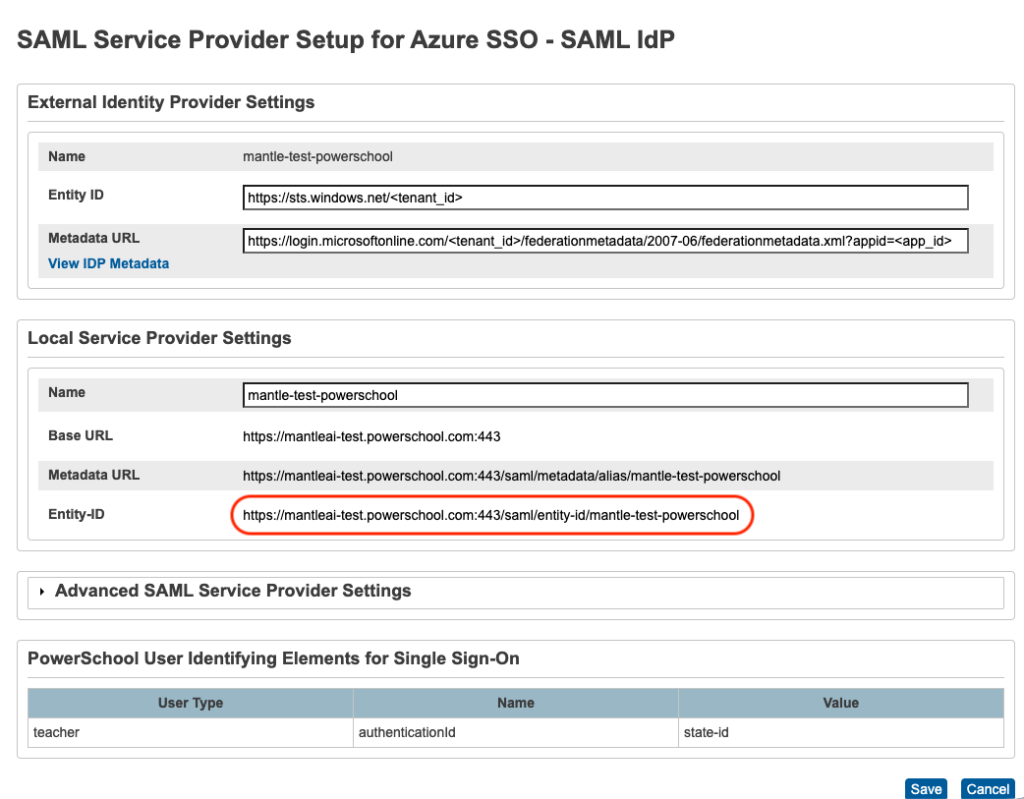
Local Service Provider Settings > Name field serve as the entity_key for the Azure Single Sign On > Identifier (Entity ID)
Step 4: Configuring Azure SAML IdP
- Azure Portal → Enterprise Applications
- Create Non-gallery new application (app name
PowerSchool SSO) - Enable Single Sign-On
- Select
SAML - from
Set up Single Sign-On with SAMLConfigure Basic SAML Settings (Azure)- Identifier (Entity ID) → from PowerSchool
https://mantleai-test.powerschool.com:443/saml/entity-id/mantle-test-powerschool - Reply URL (ACS URL) → from PowerSchool
https://mantleai-test.powerschool.com:443/saml/SSO/alias/mantle-test-powerschool
- Identifier (Entity ID) → from PowerSchool
- from
Set up Single Sign-On with SAMLConfigure Claims & Attributes

Typical PowerSchool-required claims:
| Claim | Azure Source |
|---|---|
| Unique User Identifier (Name ID) | user.userprincipalname |
| emailaddress | user.mail |
| givenname | user.givenname |
| name | user.userprincipalname |
| surname | user.surname |
Make Sure the below claim is avaliable
| Claim | Azure Source |
|---|---|
| authenticationId | user.mail |
Step 5: Finish PowerSchool Plugin SAML Service Provider Setup
From Azure Set up Single Sign-On with SAML page copy App Federation Metadata Url and Microsoft Entra Identifier
Open PowerSchool Plugin Page > ‘SAML Service Provider Setup’ Page,
- Copy
Microsoft Entra Identifierfrom Azure to External Identity Provider Settings >Entity IDin PowerSchoolSAML Service Provider SetupPage - Copy
App Federation Metadata Urlfrom Azure to External Identity Provider Settings >Metadata URLin PowerSchoolSAML Service Provider SetupPage

Notes Assertion Consumer Service (ACS) URL: Where Azure sends the SAML response
